
Making a Banner
Step 1: Decide on a theme
Before you can make it you have to think about what you want to make, what you want it to look like, and what the occasion is. Banners consist of a series of "flags" attached together. I like to go on pinterest and get some inspiration!
Step 2: Plan it out
Once you have an idea in your head of what you want, figure out the supplies you will need to make your banner. The materials I use are usually paper, fabric, ribbon, or string. Don't let that limit you, be creative and think about what would best go with the theme.
Step 3: Get it together
Go purchase the supplies you need, or use what is around you, and get creative. When working with paper the easiest way to attach each flag together is to punch a hole in each corner and secure with string, ribbon, or even wire. When making a fabric banner it is easiest to glue all the flags to a single piece of ribbon, etc.
Step 4: Attach Letters (optional)
If you are going to use letters I do this at the end after the banner is all attached, I use to put the letters on first but I have assembled enough to know you can't assemble the letters out of order if you put them on at the end.
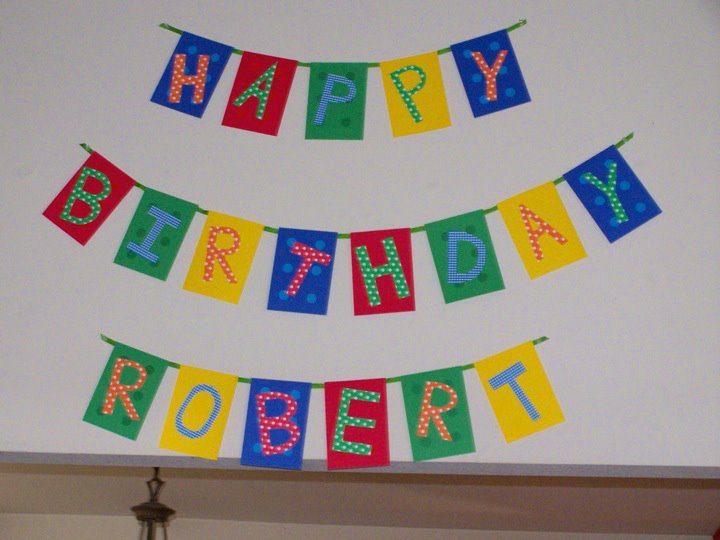
Step 5: Admire :)
Step back and check out your gorgeous new banner!
hahahahaha at your #4, totally something I have/would have done
ReplyDeletestunning post!GREAT PICS
ReplyDeleteCHIC STREET CHOC
FOLLOW ME ON FACEBOOK
INTERNATIONAL GIVEAWAY